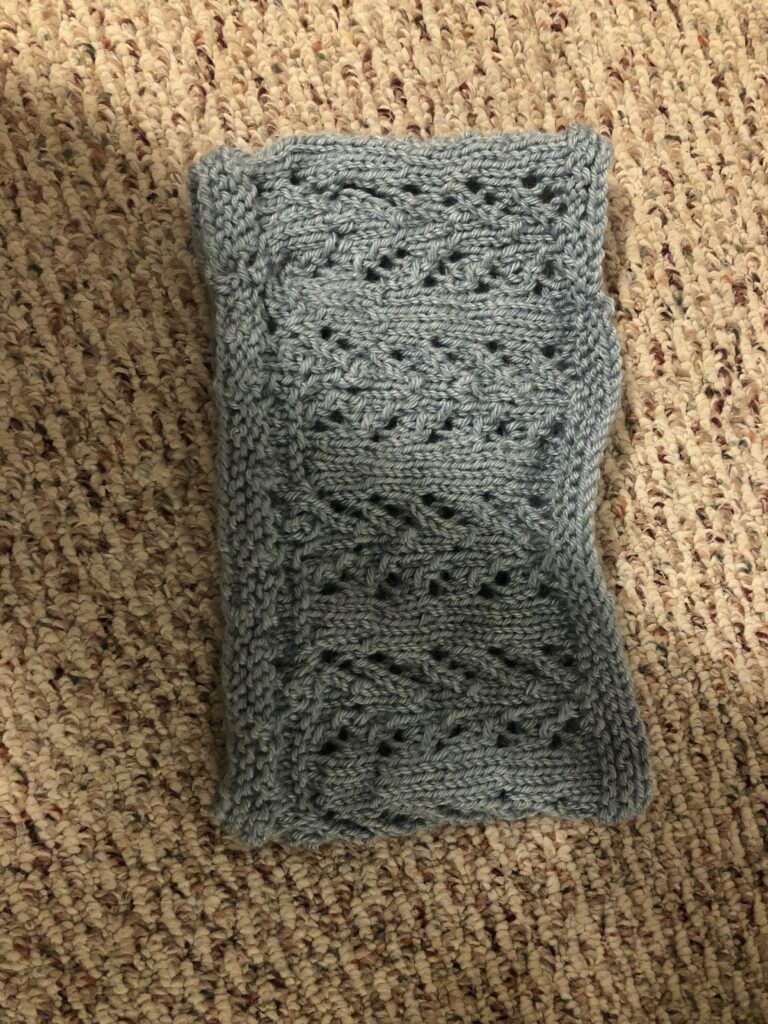
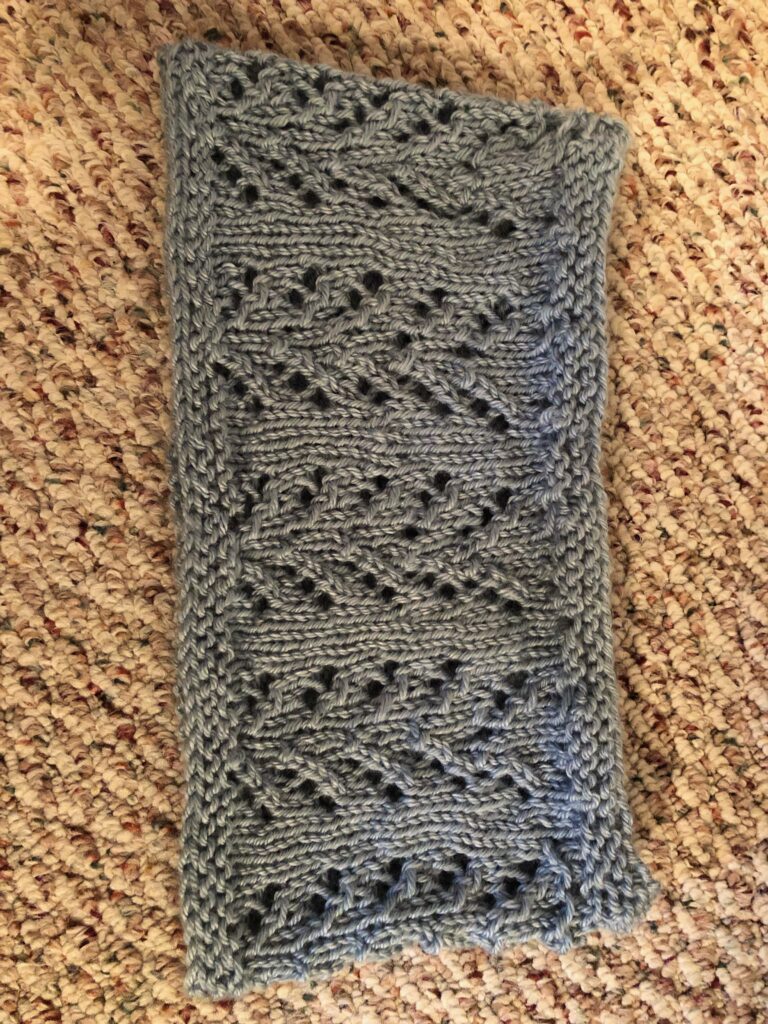
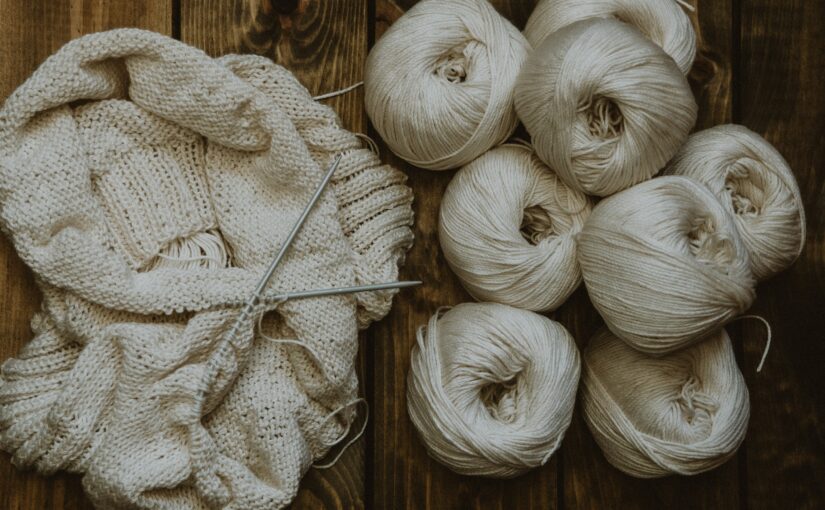
The scarf is complete and now is fully dry as well. Take a look at some before and after blocking pictures:
Before blocking
After blocking
It’s difficult to see in the photos, but in real life there is a big difference between the two, so I’m glad I gave blocking a chance. I can definitely see how on certain projects it is almost a must to ensure you have a good final product.
I’m glad I went this route for my free inquiry, as knitting is one of those activities I really enjoy but often can’t find time for – especially when it comes to learning new skills. I will often just go back to what I am most comfortable knitting – scarves and headbands on large straight needles with no fancy patterns, but my knitting world feels a little bit bigger now. I’m most excited that I can use circular needles now, for two reasons. 1) I don’t have to limit myself to projects that are only on straight needles, and 2) I can finally use the circular needle set my parents bought me all that time ago (I’ve been told they weren’t cheap… so I’m happy they are starting to get some use!).
This scarf may be finished, but my inquiry into knitting is not. On to the next project! (I think I’m going to knit my brother-in-law some slippers next…)
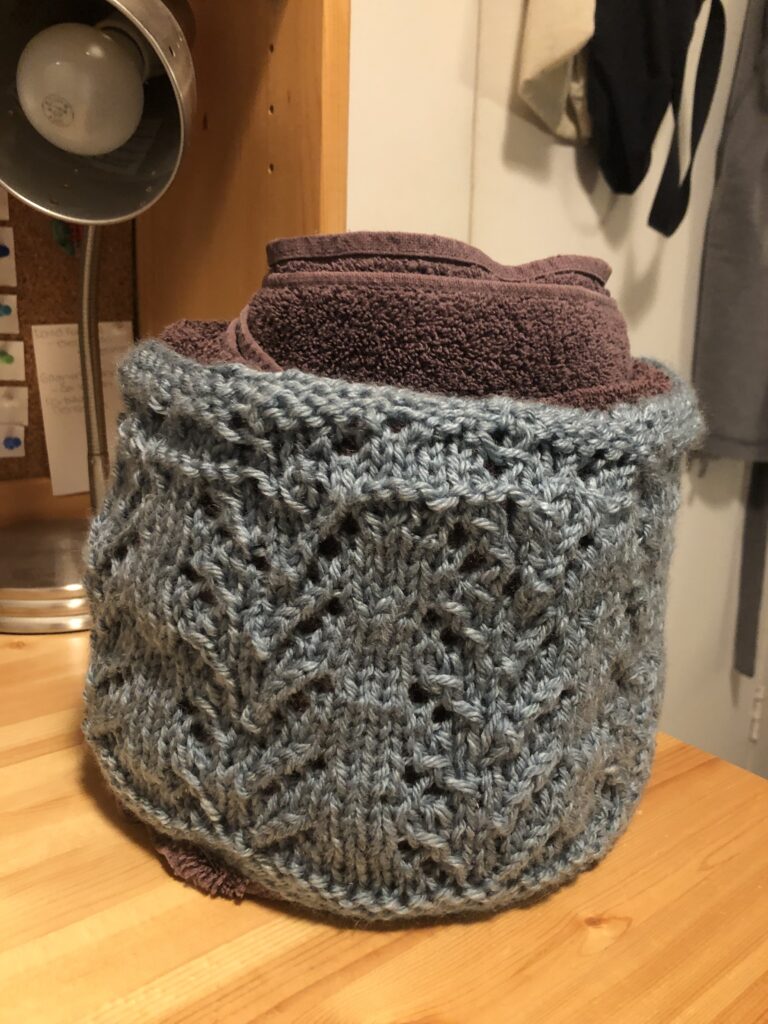
At first I was knitting this scarf as a gift for a friend, but considering that there are a number of mistakes that I made in the pattern at the beginning, I’ve decided to knit a new one for her (hopefully without mistakes) and keep this for myself instead. I’ve decided it will likely be a new addition to one of my bike bags, where I keep an assortment of lights, tools, gloves, and snacks so I can get up and go on a ride without much preparation. I’ve always wanted to add a scarf to the mix, but until now haven’t had one that I’m content to let sit in the bottom of my bag, unused for the majority of the week.
Deciding that this was going to be its purpose, I’ve cast off the scarf to be significantly shorter than what the pattern calls for, as I don’t want it to be too bulky or overly warm when I’m cycling.
In my last blog I wrote about my foray into blocking – and now I’ve actually tried it. Now all it needs is to dry, and (ideally) it’ll be good to go.
Throwing my new scarf on the towel (i.e., a first attempt at blocking)
At the beginning of this project I set out with a few questions that led me to pursue 4 new knitting skills: knitting on circular needles, using stitch markers, trying out some new stitches (and ultimately trying out lace knitting for the first time), and blocking.
I feel confident in saying that I now know how to use circular needles and feel comfortable doing so, and if you’ve been reading these blogs up until now you know that I feel pretty good about stitch markers too.
Finally, I want to learn how to block my knitting.
(For those who don’t know what blocking is, it’s basically a process that shapes your knitting through the use of steam or water)
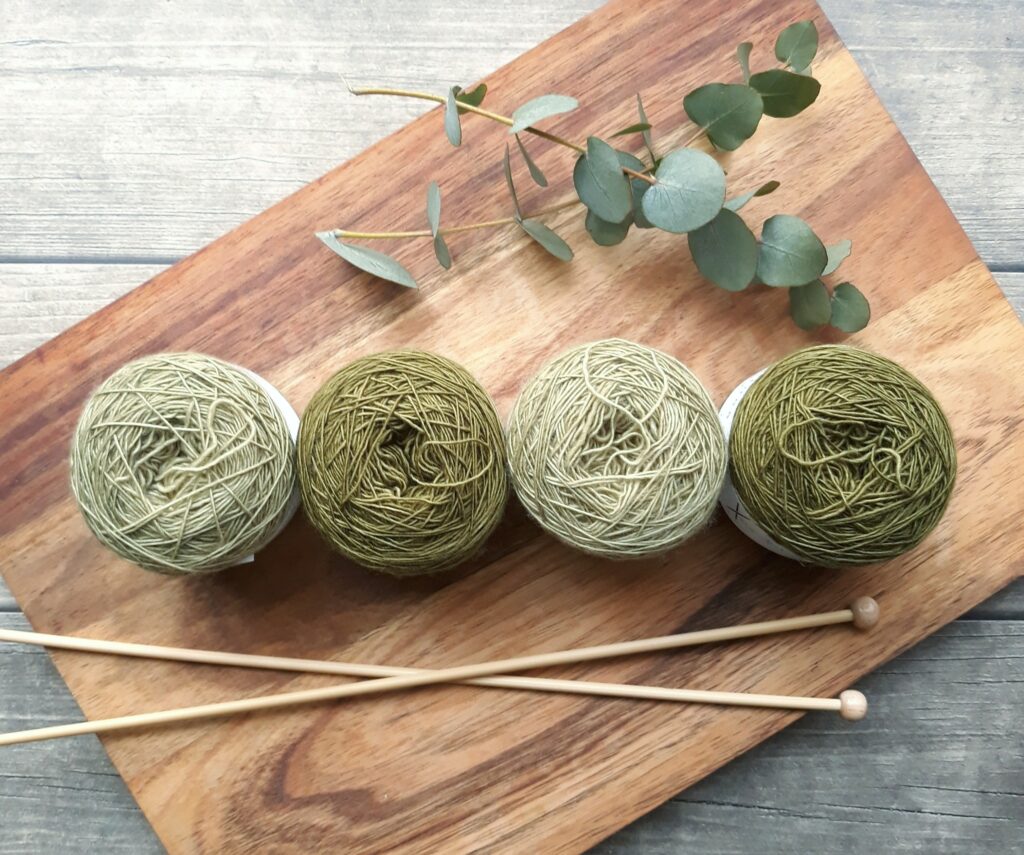
In my research, I’ve found that there are lots of different kinds of blocking. I have found some useful guides for blocking lace knitting in particular, which is the kind of pattern I’ve chosen to knit for this project. However, this kind of blocking generally requires some tools that I do not have and that I am not looking to purchase at the moment (depending on how this scarf turns out maybe I’ll put that on my Christmas list…).
I have found one method that doesn’t involve any special tools, just a rolled-up towel and some pins, so this is the method I’m going to try.
Now all that’s left is to cast off and then actually block my scarf… wish me luck!
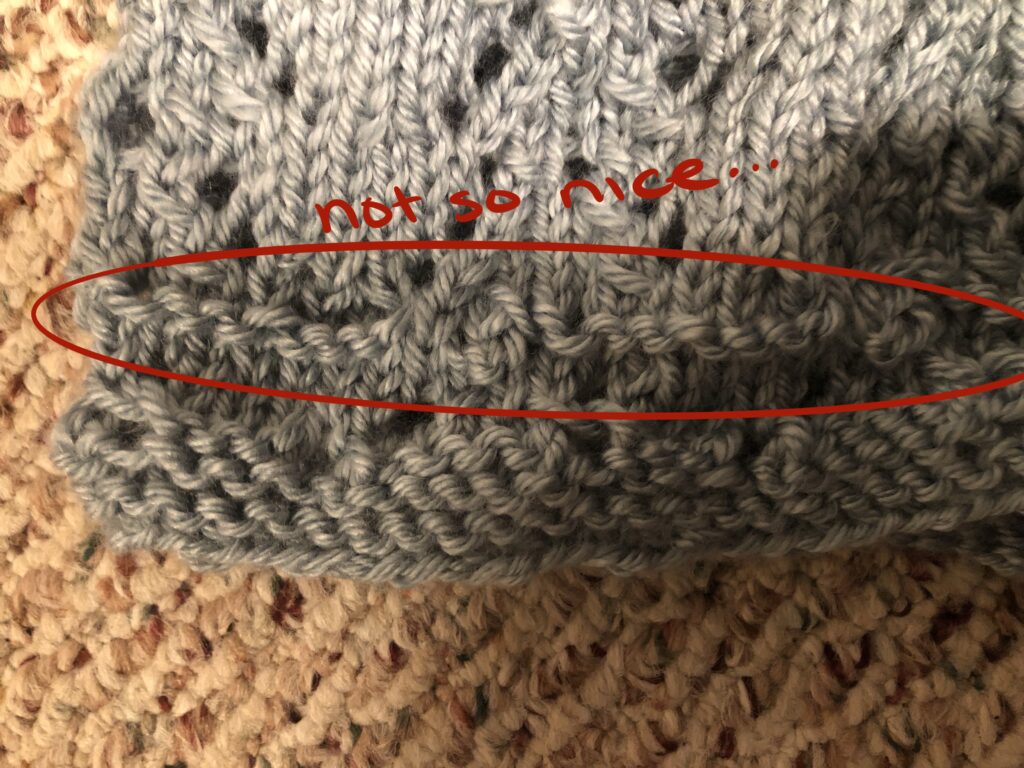
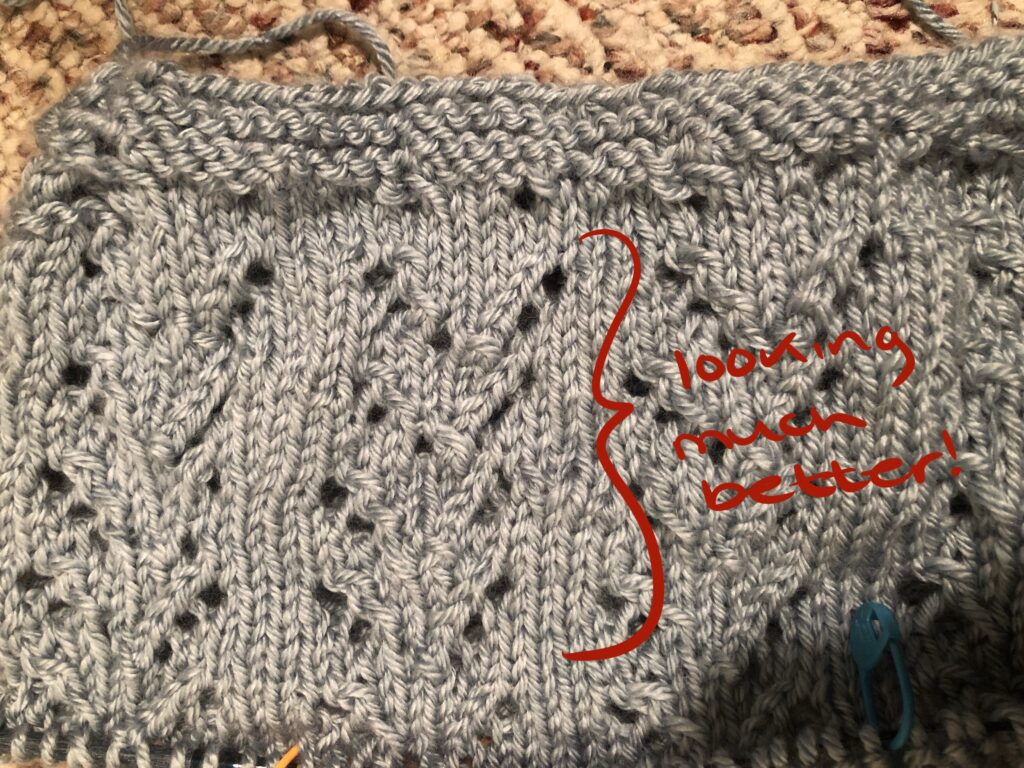
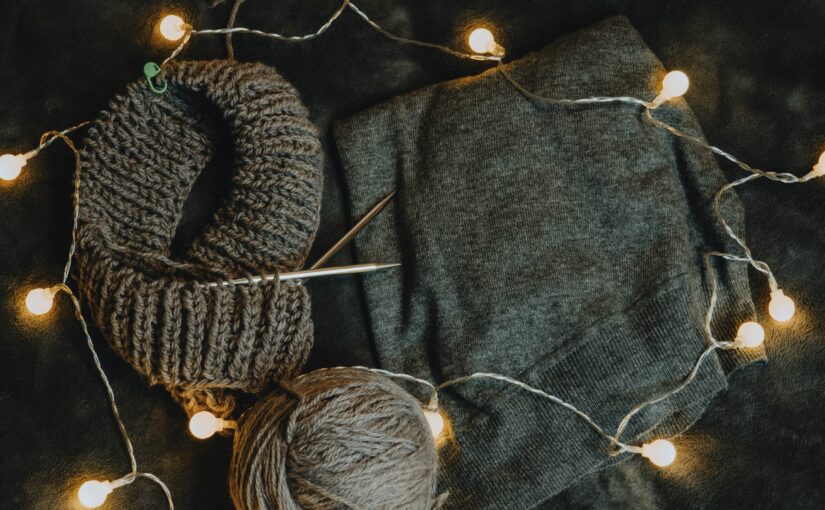
Armed with my newfound love of stitch-markers, I feel like I’m finally on track. It took a bit of work, but I seem to have figured out the pattern, and now the actual knitting of the scarf is fairly smooth sailing. As you can see from the photos below, there’s quite a difference between how it looks with all the mistakes I was making at the beginning and the lovely pattern that has now emerged.
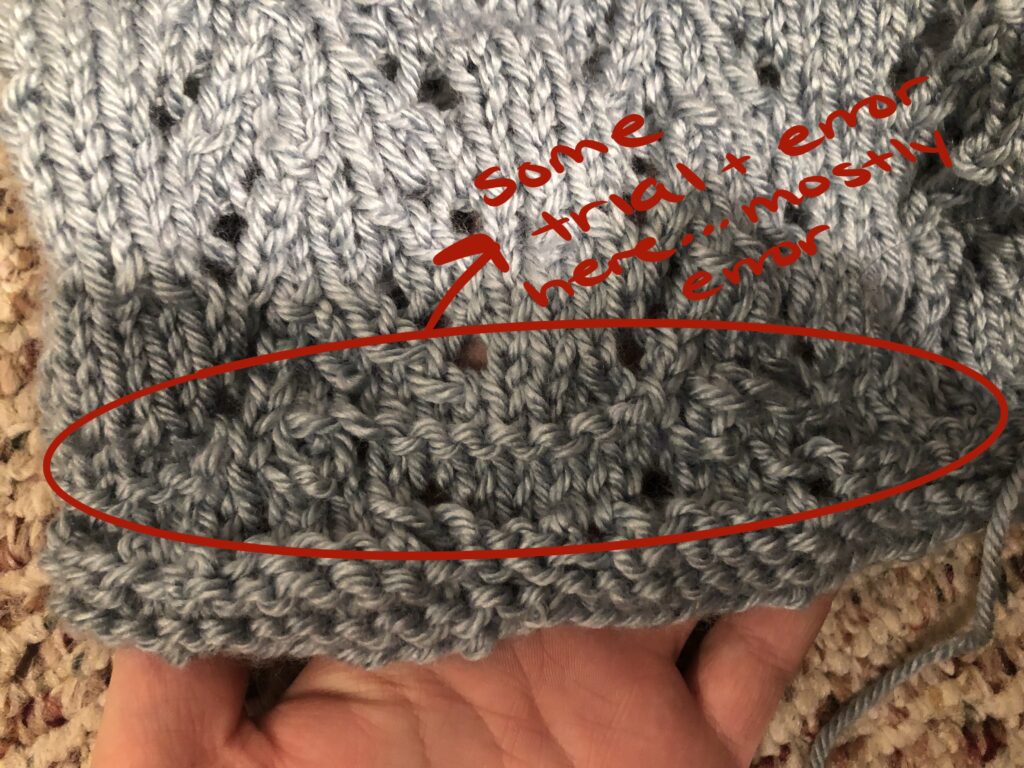
One regret I have is that once I finally figured out all the places I was going wrong in the pattern, I should have taken apart the work and started again. There still remains about an inch or so of very messy knitting at the bottom of my scarf, but I’m too far into it now to go back. That being said, I think if I just make sure to tuck that bit in at the bottom, it should be completely wearable. However, I had first meant for this scarf to be a gift for a friend of mine, but I think I’ll knit another one for her instead…hopefully with fewer mistakes now that I’ve honed my skills just a bit more.
One of the goals I had in this project was to learn about how best to utilize stitch markers. As I mentioned in my post about picking a pattern, one of the reasons I chose this pattern was because there were specific instructions on using stitch markers in the directions. Now with a little bit of circular and lace knitting experience under my belt, I have one thing to say:
I. Love. Stitch Markers.
They seem like a fairly intuitive tool, but they did take some getting used to – once I realized I was just meant to slip them on the needles like a stitch, rather than fasten them to individual stitches, I was off the races. That being said, it was a bit of a rough start.
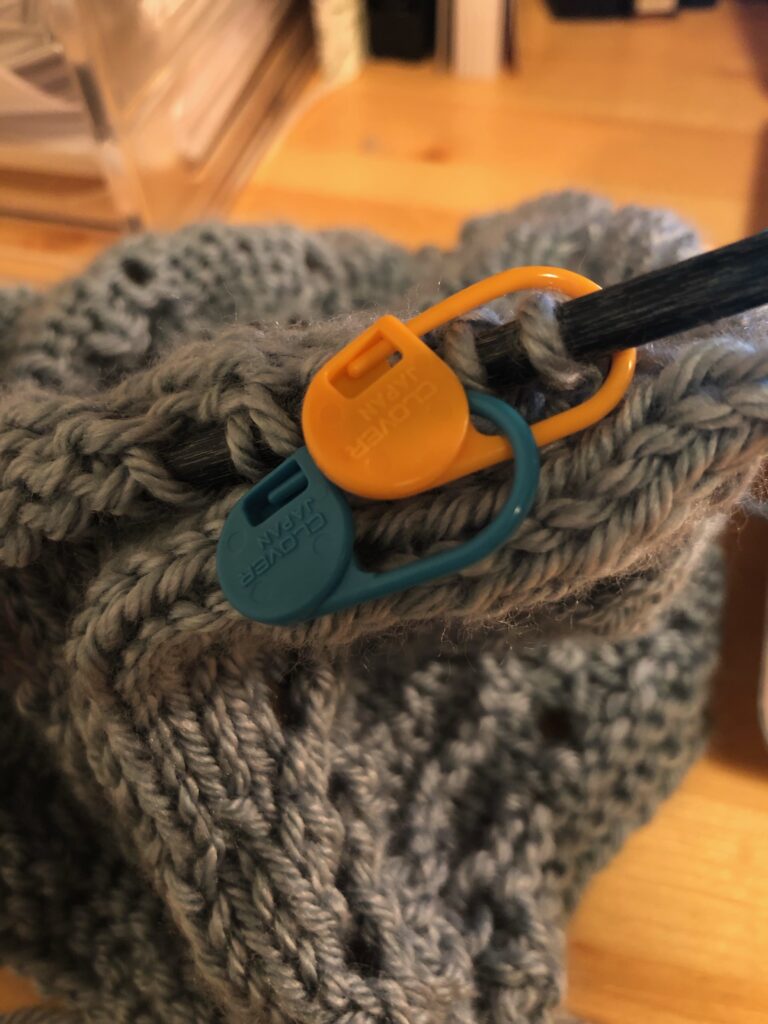
My “clever” solution in action
One epiphany I had – that felt very clever at the time, although most people would likely just see it as common sense – was to link two markers together to designate the marker at the beginning of the row from those mid-row. The pattern does recommend this through the use of different coloured stitch markers, but since I don’t have enough stitch markers of one colour to utilize this method, this was the approach that I took (however, it took an embarrassingly long time to find this alternative solution…which, I’ll admit, has left me with a slightly wonky start to my scarf, but I’m hoping if I just fold that over when I wear it no one will be able to tell).
I finished off my last free inquiry update noting that I may have made a mistake in my work, and that I would consult some more experienced knitters to see what they had to say.
And it turns out I had made a mistake.
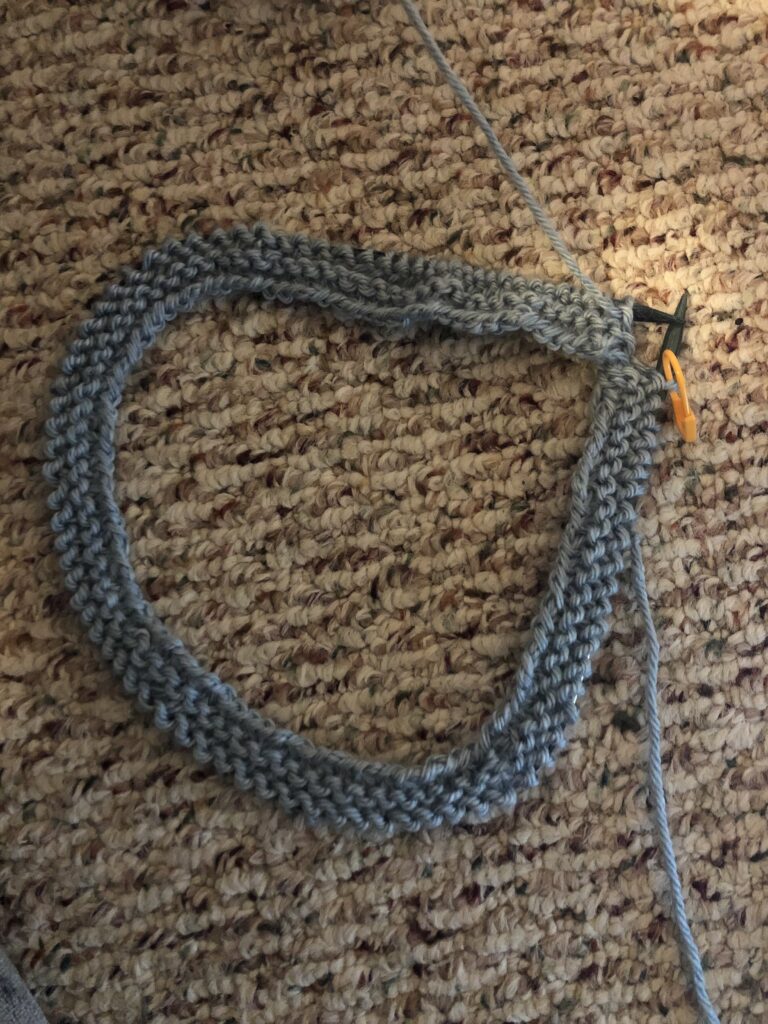
Thankfully, I wasn’t too far into the project, so I decided to simply start over again, this time also using a different size cable connector on my needles – a choice I am very pleased with (for anyone knowledgeable about knitting out there, I’ve decided to leave learning the magic loop method for another time).
If you’re beginning knitting – or any hobby really – I recommend trying to find a little community of people to learn from. Finding advice on blogs and YouTube can be very helpful, but some of the best answers I’ve gotten to specific questions have been from those in the knitting groups I’m a part of on Facebook. Along with being a great resource for help and advice, I love being able to show pictures of my projects with people who are interested in the craft and encouraging of each others’ progress.
The second attempt is going much smoother…at least for now!
I was finally able to fit in a trip to get some yarn the other day, so I am able to officially begin the process of putting what I’ve learned into action and start knitting.
I decided to try out the time lapse function on my phone for the first time to capture my efforts casting on and knitting (well, purling, actually) the first row.
(I wonder if looking into strategies for improving posture should be my next free inquiry project…)
Casting on was a success, aided by some helpful stitch markers. It may be difficult to see due to the speed of the video, but there is a look of frustrated confusion on my face at the very end of the clip. It is possible that I have made a mistake in how I’ve joined the work in the round (the act of slipping a stitch from the beginning and ends of the cast-on in order to make the work into a loop). My next course of action is to consult some more experienced knitters in a knitting Facebook group I’m a part of and see what they have to say before I go any further.
In order to apply the skills I want to learn, I need to first pick a project I want to make. There are countless options when it comes to knitting patterns. In order to choose a project I needed to narrow down my criteria. To do so, I decided to think about which patterns would allow me to practice the skills I was most interested in learning.
#1: Using circular needles/knitting in the round
As I discussed in my last blog post, any knitting project that can be done on straight needles can also be done in the round. However, I wanted to choose a project that with my current knowledge is inaccessible to me in order to motivate me to learn this new skill. Therefore, I’m going to choose a pattern that specifies knitting in the round.
#2: Using stitch markers
Already by knitting in the round one is likely to use stitch markers to mark where the round starts and ends. However, as I learned earlier, stitch markers can be used for a variety of reasons, and I’d like to experiment with these tools in more ways than one. Therefore, I am going to choose a project that involves pattern changes or increases rather than a continuous stitch in order to practice this technique (I anticipate that I will also be using the stitch markers to mark a dropped stitch at at least one point during the project, but I won’t actively plan to do that).
#3: Blocking
Depending on who you talked to, some will say that all projects should be blocked, while others would disagree. However, just to ensure that I can fully understand the importance of blocking, I am going to choose a project that specifically instructs me to block the project upon completion.
Additionally, I wanted to ensure I was setting myself up for success by choosing a pattern that was still within my level of experience. This pattern was generally rated easy, but it introduces me to lace knitting, which I haven’t done before.
Here’s a list of resources I consulted in the process – there are thousands of projects to peruse through (free and paid)!
All of the knitting I’ve done has been on straight needles (apart from one attempted circular project that left me in actual tears), but after having received a set of circular needles for my last birthday, I wanted to look into what the differences and potential benefits might be of using circular ones. I’ve overlooked knitting certain patterns before because they called for circular needles, so learning to use these will certainly open up some doors for me.
Overall, what I’ve found is that once you get the hang of using them, using circular needles can be much more useful tools – as it turns out, there’s nothing you can do on straight needles that you can’t do on circular ones (at least that I’ve been able to find so far).
What is the best way to utilize stitch markers?
The first thing I learned was that there is more than one kind of stitch marker – circular and locking. Circular markers act like stitches on the needle, and need to be moved as you go along. Locking stitch markers can be removed and added to any stitch at any time. Kind of like circular vs straight needles, locking stitch markers can be used for anything circular ones can do, but not vice versa.
Stitch markers can be used for a number of things. One way that I think will be particularly helpful to me as I begin my journey with circular needles is using stitch markers to mark the end of a row on my circular needles when knitting in the round, as it’s often hard to tell where the circle begins and ends. While this was the most obvious use to me, I realized there’s lots of different ways to utilize these little tools. Stitch markers can also be used to remind yourself of pattern changes, to mark where you’ve dropped a stitch, to count rows or cast-on stitches, and many other things.
Here are a couple of the most useful blog posts I found on the topic (so far, it seems like knitting blogs will be my best friends throughout this learning process):
What are some useful resources to learn specific stitches?
For this question, I think the answer may come as I begin the actual knitting process. However, I foresee blogs and YouTube videos as being the most helpful resources. That being said, I am also a part of two knitting groups on Facebook that I am looking forward to utilizing more – whether it be asking for specific advice, asking about where to find the best resources, or simply sharing my progress!
Are different methods of blocking better for different projects?
This is another question that I will look into and address more in the future, as blocking occurs after a project is completed. I’m sure that more questions will pop up during the creation of my project, but I knew blocking was something I was already curious about as it’s a part of the knitting process that I’ve always overlooked. Once I decide on a project and complete it, I know this is a question I’ll be looking for an answer for.
For my Free Inquiry project I have chosen to delve into the world of knitting. I’ve learned and relearned how to knit various times throughout my life, but I’ve always found that I’ve hit roadblocks that cause me to put the hobby away for years at a time. I’m hoping that by following a more structured and intentional learning plan, I can find a way to push past some of the frustrations I’ve encountered in my learning process. To guide my inquiry, I am using a resource from the Pacific School of Innovation and Inquiry.
To start, I thought of some questions I had that relate to obstacles I’ve encountered in the past:
How does using circular needles differ from using straight ones?
What is the best way to utilize stitch markers?
What are some useful resources to learn specific stitches?
Are different methods of blocking better for different projects?
From here, I want to deepen my inquiry. This week I plan to look into finding some answers for the above question and design a project that will allow me to corroborate the answers I find through my own execution of a knitting project.